Create a workspace
A workspace is a named environment that stores Terraform configurations, variables, states, and other resources necessary to manage infrastructure. Each Workspace is mapped to a single state.
Users can define a Terraform configuration with multiple workspaces to enforce the same desired configuration. Each workspace creates a different state with its own independent lifecycle.
For example, you can have a single configuration of a Kubernetes cluster and create multiple workspaces out of it, each leading to different clusters. The configuration is unique to each workspace and can be managed through environment or Terraform variables.
Workspace statuses
A workspace can have one of the following statuses:
- Active: Successfully deployed and running.
- Inactive: Successfully destroyed or was not provisioned.
- Drifted: Drift was detected.
- Provisioning: Currently being provisioned.
- Destroying: Currently being destroyed.
- Failed: Errors were encountered during provisioning or destroying.
- Apply_Needed: Apply is required to bring the infrastructure in sync with the workspace configuration.
- Unknown: Changes were made outside the product.
Go to workspace statuses to find out more about filtering workspace by status.
Create a new workspace
- Interactive guide
- Step-by-step
To create a new workspace, follow these steps:
- Sign in to app.harness.io.
- In the module pane, select Infrastructures as Code Management.
- Select Workspaces, and then select +New Workspace, and Start from scratch.
Step 1: About Workspace
- Enter a Name for your workspace. This name will appear in your workspace list.
- (Optional) Add a Description to clarify the purpose of the workspace.
- (Optional) Add Tags for easier filtering and organization.
- (Optional) Toggle Enable Cost Estimation if you want Harness to calculate cloud costs based on the Plan output.
- Click Next.
Step 2: Configure Repository Details
- Select Git Provider: Choose either:
- Harness Code Repository, or
- Third-party Git provider (e.g., GitHub, GitLab, Bitbucket).
- Select a Git Connector: Choose an existing connector or create a new one.
- Choose Git Fetch Type:
- Latest from Branch is selected by default.
- Enter Git Branch: Type the name of the branch you want to fetch from.
- (Optional) Enter Folder Path: If your IaC code resides in a subdirectory, specify the folder path.
- Click Next.
Step 3: Provisioner
- Select a Connector: Choose the connector for the cloud provider or backend system (e.g., aws-oidc).
- Set Scope: Confirm the scope for the connector (e.g., Account, Project, etc.).
- Choose Workspace Type:
- Select OpenTofu or Terraform based on your IaC framework.
- Select the Version of OpenTofu or Terraform to use (e.g., 1.9.0).
- Click Create to finalize and create the workspace.
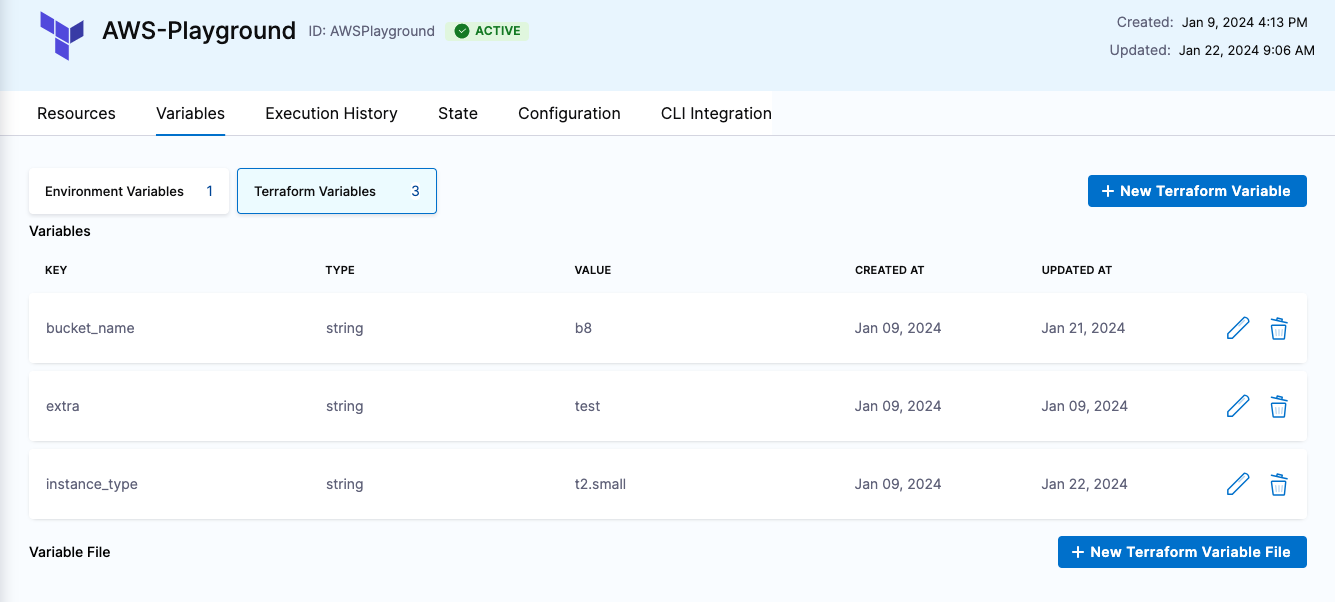
If you need to use either environment or Terraform variables during execution, select the Variables tab to define the variables.
- Environment Variables can be either String, Secret, or a reference to another variable using JEXL expression (it can be in the same or a different workspace or from the pipeline).
- Terraform Variables Can be provided in the following ways:
- Inline Users can define Terraform variables within the workspace. Variables can be either String, hcl, Secret, or a reference to another variable, using JEXL expression (can be in the same or a different workspace, or from the pipeline).
- From Git Repo (Implicit) Users can store
.tfvarin the same folder as the Terraform code for the workspace. - From Git Repo (Explicit) Users can define a specific folder for
.tfvarfiles (which can be different from the Terraform code's location). These files can be in the same or different repository as the Terraform code.
JEXL expressions cannot be used to reference tfvar files.
The values defined in line with the workspace will take precedence over the git configuration.
Clone a workspace
Harness supports workspace cloning for quick setup of new workspaces with the same or similar configuration as existing workspaces.
- Interactive guide
- Step-by-step
- Navigate to your IaCM workspaces
- Select the option icon (vertical ellipsis) beside the workspace you want to clone.
- Select Clone.
- Name your new workspace
- The default placeholder name will be "cloned_workspace_name-clone".
- Select Clone.
Review your new workspace and make any amendments in the Configuration tab if necessary.
Go to provision workspace to learn how to provision workspaces.